Mapping and Location Management
Getting Started
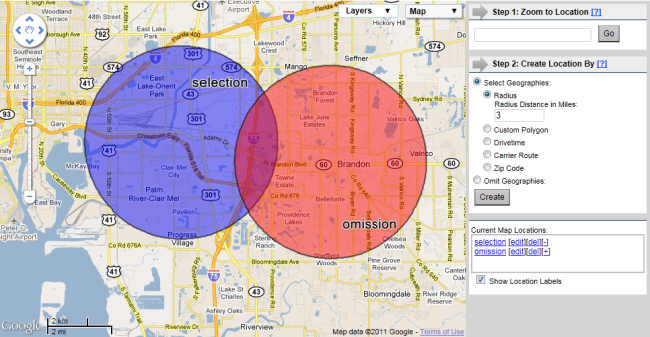
The mapping and location management functionality allows you to select geographies from the map through methods including defining a radius, a drivetime, a hand-drawn polygon, and by clicking on the map. Through the same interface, you can choose geographies that should be omitted from your selection.
Find Your Spot
The first step in defining locations on a map is to place a location marker. This can be done in one of three ways.
1. Zoom to Location
Type an address into the Zoom to Location box and click the Go button:
Note: Locations must be entered in one of the following formats:
- Complete Address [10 First St, Wellsboro, PA, 16901]
- Street Address and ZIP Code [10 First St, 16901]
- City and State [Wellsboro, PA]
- Just the ZIP Code [16901]
- County [Tioga County]
- State [Pennsylvania State] OR [PA]
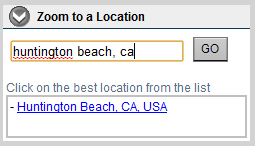
In the list of candidate addresses, click the desired address to create your marker and zoom to the spot.
2. Click on the map at desired Location to place a marker
Click on the desired spot on the map. A marker will be placed and the map will zoom to the location if you are zoomed too far out to see the area reasonably.
3. Define a location type and press "Create"
A marker will be placed in the center of the map. The location type (Radius, for example) will be created around that marker, and the map will zoom in if necessary for reasonable work.
Creating a Location
Selecting or Omitting
The first step is to define whether your are selecting a location to be included (Select Geographies) or Omitted (Omit Geographies) from your geographic selection. Selected geographies will appear blue on the map. Omitted geographies will appear red.
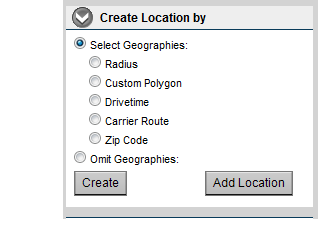
Selecting the type of Location to Create
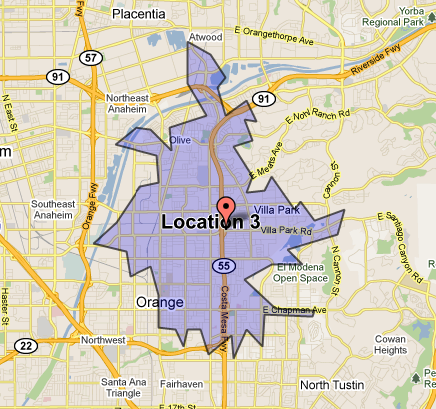
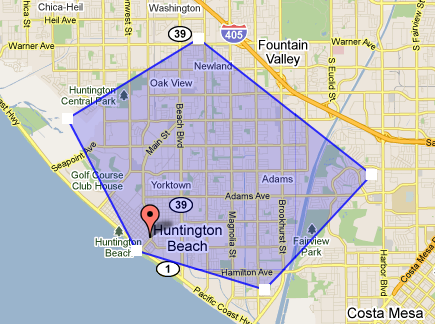
There are four types of locations you can create.
For each of the above location types, select the option for the type and press "Create." A new location will be created, and you are now in editing mode. To stop editing, click "Add Location."
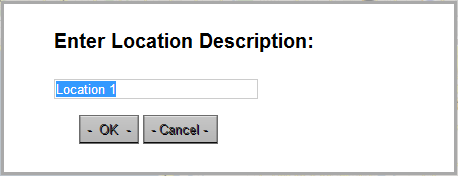
A dialog will appear giving you the chance to name the new location. It's name will be populated automatically but may be overwritten.
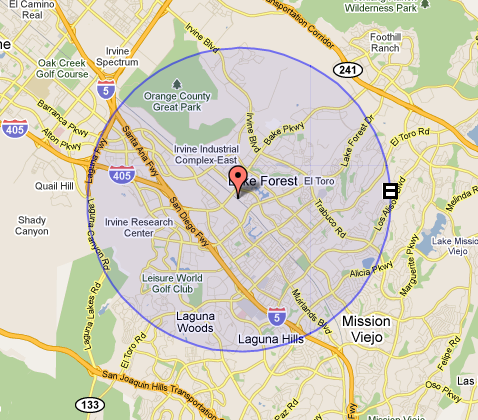
Radius
Drivetime
Custom Polygon
After clicking the "Create" button and giving the new location a name, begin clicking on the map to define the points of your custom polygon.
To close the polygon, click on the first point you created. Click
"Done Editing."
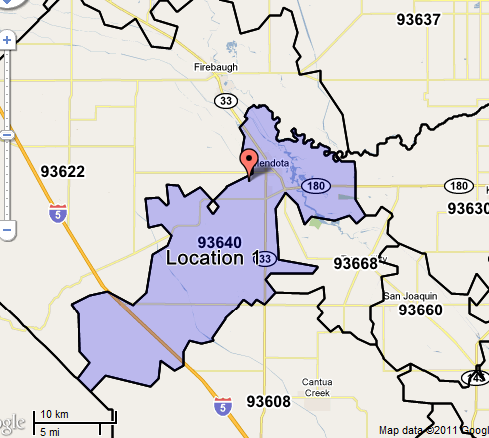
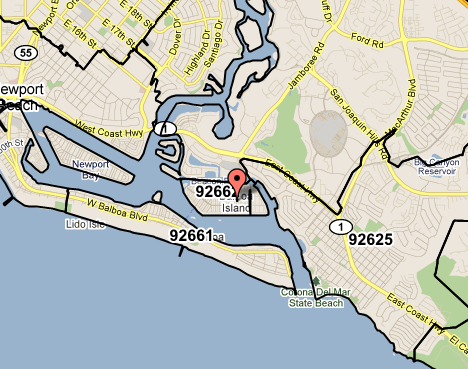
ZIP Code
When you are defining ZIP Code Locations, you may find it helpful to turn on the
ZIP Code overlay in order to make more accurate selections
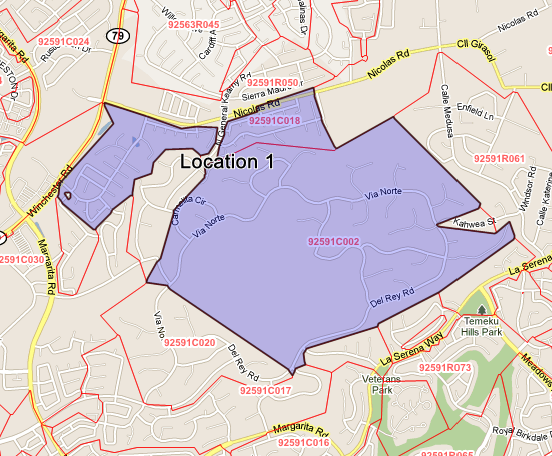
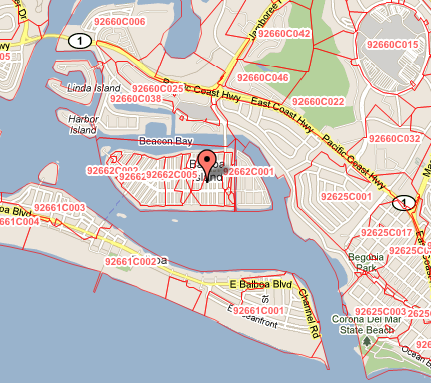
Carrier Route
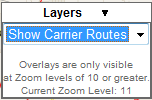
Note: When you are defining Carrier Route Locations, you may find it helpful to turn on the Carrier Route overlay in order to make more accurate selections
Click "Carrier Route" from the options
Click "Create"
Begin clicking the carrier routes you would like to select. Clicking a previously selected carrier route will deselect it.
After clicking "Carrier Route" from the options
Editing a Location
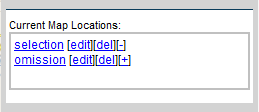
In the location list, click on "[edit]" for the location you wish to modify. The location will be loaded and centered in the map. Its name will appear in an edit box above the list above a Cancel and Save button.
To delete a location, click on the [del] link on the location you wish to delete.
When you have made your edits, click Save to apply them or Cancel to discard them. The buttons and and the edit box will disappear.
Setting Location Priority
The priority ordering of locations can be managed int the Current Map Locations list. Beside the location you wish to reorder, click the [+] link to raise its priority. Click the [-] link to lower its priority.
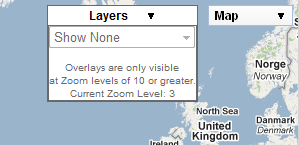
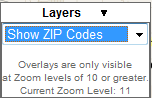
Turning Overlays On and Off
With the Layers control on the map, you can turn on outline layers for Carrier Routes and ZIP Codes.
With this option selected, labeled ZIP code outlines will show.
With this option selected, labeled carrier route outlines will show.